

Key Takeaways
Summary
22 items · 30–60 minutes to assemble
Why Every Pet Owner Needs a First-Aid Kit
Accidents happen when you least expect them — a cut paw on broken glass, an insect sting during a walk, or a minor burn from a curious nose getting too close to the stove. Having a dedicated pet first-aid kit means you can respond quickly and calmly instead of scrambling through kitchen drawers in a stressful moment.
Equally important is knowing what a kit cannot do. Home first aid is designed to stabilize and comfort your pet until you can reach a veterinarian — not to replace professional care. Deep wounds, difficulty breathing, suspected poisoning, seizures, and collapse are always emergencies requiring immediate veterinary attention. Think of your kit the same way you'd think of a human first-aid kit: useful and necessary, but not a substitute for a doctor.
For a broader picture of keeping your pet healthy day to day, see our complete owner's reference covering everything from nutrition to emergency preparedness.
First Aid Does Not Replace Veterinary Care
A first-aid kit is a bridge, not a destination. Any pet that has experienced significant trauma, ingested a potential toxin, is showing signs of respiratory distress, collapse, or prolonged bleeding must be seen by a veterinarian as soon as possible. Stabilizing your pet at home is appropriate only when it enables you to get to professional care more safely — never as an endpoint.
What to Stock: The Full Checklist
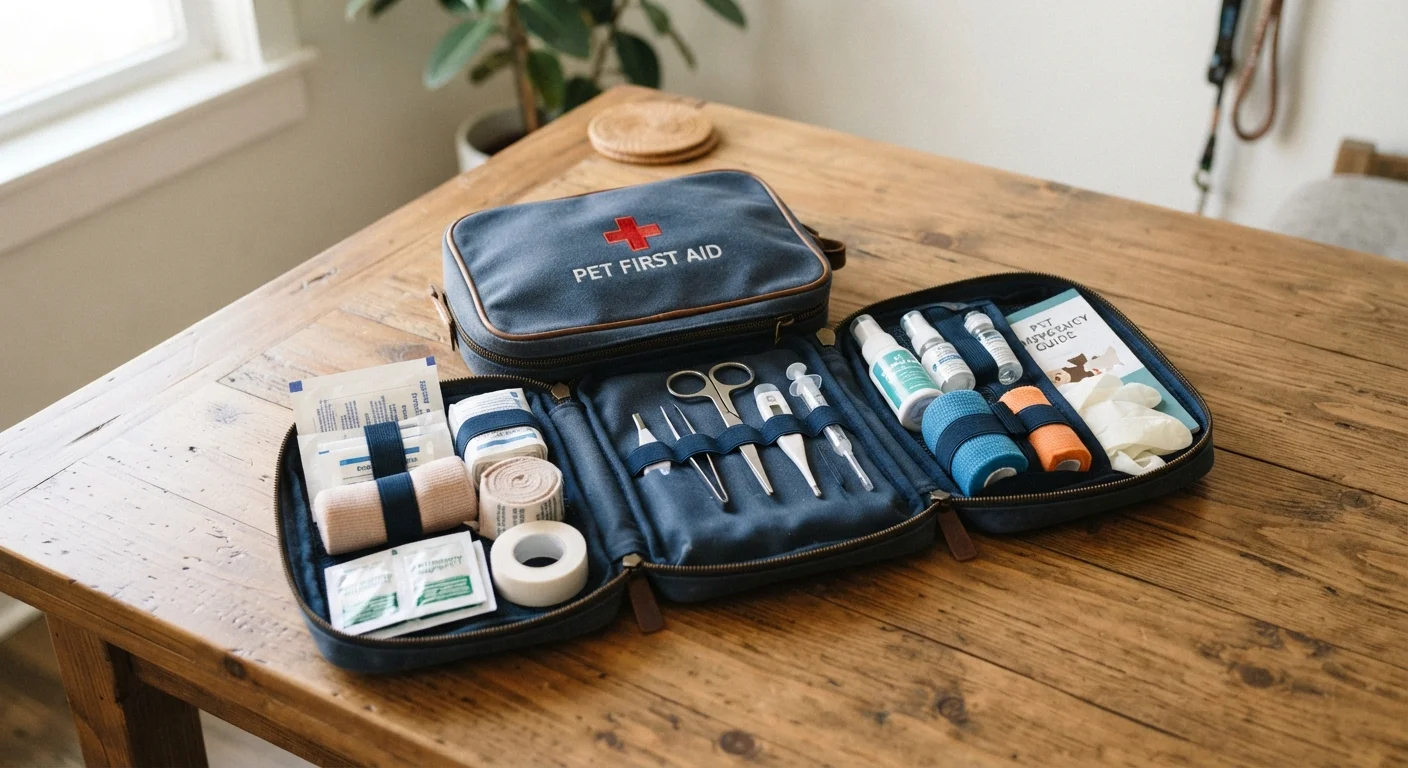
Use the checklist below to build or audit your kit. Items marked must are non-negotiable basics; should items are strongly recommended for most households; nice to have items add useful capability if budget and space allow.
Wound Care
Monitoring & Assessment
Restraint & Handling
Tick & Foreign Body Removal
Emergency Information
Additional Supplies
Once assembled, store everything in a clearly labeled, waterproof container — a handled plastic tackle box or a zippered bag works well. Keep it somewhere accessible to all adult household members, and consider a smaller travel version for road trips or hiking with your pet. If you regularly take your dog on outings, our guide on daily grooming habits also covers ear and paw checks that can catch problems before they need first aid.
Never Give Human Medications to Pets
Common over-the-counter human pain relievers — including ibuprofen, acetaminophen, and aspirin — are toxic to dogs and cats and can cause serious organ damage or death. Do not include any human medication in your pet first-aid kit unless your veterinarian has explicitly instructed you to use a specific product at a specific dose for your individual animal.
Tools You'll Need
Beyond consumable supplies, a few reusable tools make a meaningful difference in your ability to assess and assist your pet safely.
Digital Rectal Thermometer
Measures your pet's core body temperature accurately, a key indicator of fever, hypothermia, or heatstroke.
Blunt-Tipped Scissors
Safely trims fur around wounds without risking cuts to sensitive skin.
Fine-Tipped Tweezers or Tick Tool
Removes ticks, splinters, or small foreign objects from paws and skin with precision.
Penlight or Small Flashlight
Illuminates the mouth, ears, eyes, and paws for a thorough visual assessment.
Magnifying Glass
Helps locate tiny foreign bodies such as thorns, glass shards, or insect stingers in fur or skin.
Maintaining and Using Your Kit
Building the kit is only the first step. Set a recurring calendar reminder every six months to check expiration dates on medications and ointments, replace used items, and verify that your emergency contact list is still current. Your veterinarian's after-hours number, the nearest emergency animal hospital address, and the ASPCA Animal Poison Control Center hotline should all be written on a laminated card and kept inside the kit.
Familiarize yourself with basic techniques — how to apply a pressure bandage, how to safely muzzle an injured pet (even gentle animals may bite when in pain), and how to recognize signs of shock — before you need them. Many veterinary clinics and humane societies offer pet first-aid courses, which are worth taking. Pair this preparedness with regular wellness visits; routine exams often catch vulnerabilities before they become emergencies. Learn more about what those visits entail in our overview of preventive vet visits.
This article provides general educational information about pet first-aid preparedness and is not a substitute for professional veterinary advice, diagnosis, or treatment. Always consult a licensed veterinarian for any health concerns about your pet.