

Key Takeaways
Why Layered Lighting Changes How a Room Feels
Most rooms in American homes are lit with a single overhead fixture — functional, but flat. This approach flattens architecture, creates unflattering shadows, and offers no flexibility for different uses throughout the day. Layered lighting solves all three problems by treating light as a design material rather than a utility.
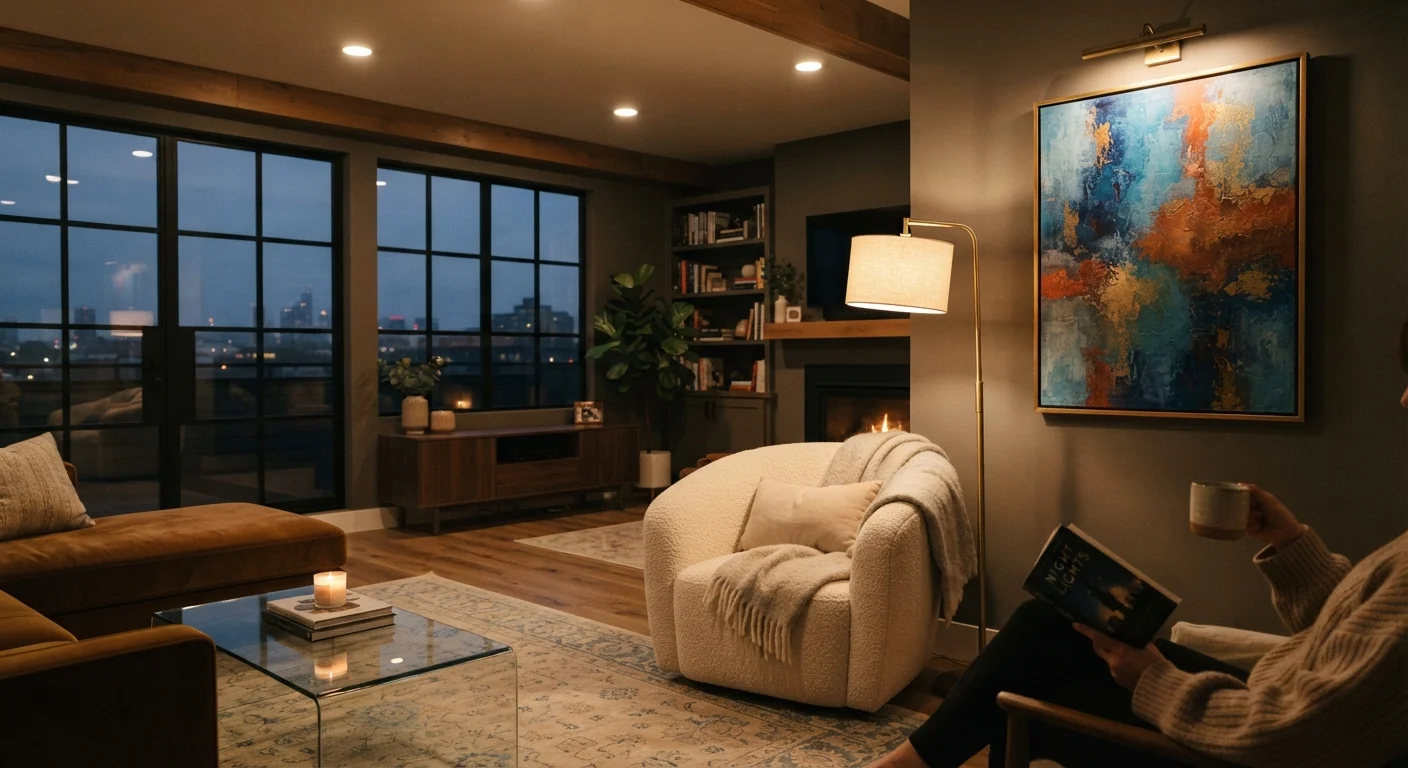
The three-layer model — ambient (general fill light), task (focused functional light), and accent (directional decorative light) — creates rooms that can shift in mood and practicality with a simple dimmer adjustment. A kitchen that needs bright, even task light for meal prep can feel intimate and warm for a weeknight dinner using the same fixtures at different intensities.
Good lighting also reinforces good design. Just as balance and proportion shape a room's structure, lighting shapes its emotional quality. Rooms that feel unresolved or cold often simply lack depth in their lighting — not necessarily any other design element. Understanding this shifts the approach from "where do I put a light" to "how do I want this room to feel, and at what times?"
Don't Rely Solely on Overhead Lighting
A single overhead fixture creates flat, unflattering light and harsh shadows. This is one of the most common home lighting mistakes. Without task and accent layers, rooms feel institutional rather than livable, and functional areas like desks or kitchen counters may be poorly lit for safe use.
The tools and steps below walk through a complete layered lighting plan you can apply to any room.
Dimmer switches
Allow you to adjust the intensity of each lighting layer independently to suit different times of day and activities.
Light meter app (smartphone)
Helps measure foot-candles or lux levels in different zones so you can identify underlit areas before purchasing fixtures.
Room sketch or floor plan
Used to map out fixture placement for all three layers before committing to installation or furniture positioning.
LED bulbs in matching color temperature
Provide energy-efficient, long-lasting light for all layers while maintaining visual consistency across the room.
Planning and Executing Your Layered Lighting Design
A successful layered plan begins on paper, not in a fixture showroom. Before considering any specific products or styles, map out the room's zones, activities, and focal points. This upfront work prevents costly over-purchasing and ensures each layer serves the space rather than filling it.
What you will need
Sketch a simple room map and identify use zones
Before selecting any fixtures, draw a rough floor plan of the room — proportions don't need to be precise. Mark the primary use zones: seating areas, work surfaces, display walls, pathways, and focal points like a fireplace or artwork. This map becomes the foundation for deciding where each lighting layer belongs. Understanding balance and proportion in interior design will help you distribute fixtures evenly rather than clustering light in one area.
Establish your ambient (base) lighting layer
Ambient light is the foundational layer — it provides general, even illumination across the room without creating strong shadows. Common sources include recessed downlights, flush-mount ceiling fixtures, semi-flush pendants, and indirect cove lighting. Aim for consistent coverage: in most living spaces, 10–20 foot-candles of ambient light is a reasonable baseline, though this varies by room function. Install this layer on a dimmer so its intensity can be reduced when task or accent layers take over in the evening.
Add task lighting where focused activity occurs
Task lighting directs concentrated light onto a specific surface or work area. In kitchens, this means under-cabinet strips over countertops. In home offices, it means a properly positioned desk lamp. In bedrooms, it means bedside reading lights mounted or positioned to illuminate a book without spilling across the whole room. The key is directionality — task lights should be bright enough to prevent eye strain without creating glare. Position fixtures so they illuminate the work surface from the side or slightly in front, not directly behind you.
Layer in accent lighting for depth and visual interest
Accent lighting draws the eye to specific features — artwork, architectural details, shelving, plants, or textured walls. It typically requires about three times the light level of the surrounding ambient light to create a noticeable contrast. Common sources include directional track lights, picture lights, recessed adjustable spotlights, and LED strip lighting placed inside shelving. For guidance on how lighting interacts with art placement, see how scale and placement affect art in a room. Keep accent fixtures adjustable so you can redirect them if décor changes.
Connect each layer to independent dimmer controls
The power of a layered lighting plan is only realized when each layer can be controlled independently. Install separate dimmer switches for ambient, task, and accent circuits so you can blend them for any scenario: bright ambient for cleaning, ambient dimmed with accent raised for a dinner party, or task alone for late-night reading. Smart bulb and switch systems can make this even more flexible — smart lighting systems allow you to set scenes that shift all three layers simultaneously with a single command. Verify dimmer compatibility with your chosen LED bulbs before purchasing.
Test and adjust the layers together in real conditions
Once all fixtures are in place, test the room at different times of day and for different uses. Evaluate the plan during daylight, at dusk, and in full darkness. Adjust dimmer levels and fixture angles based on how the layers interact. Shadows that seemed acceptable in planning may feel harsh in practice; a spotlight aimed slightly too far may wash out artwork instead of highlighting it. This calibration step is where good lighting plans become great ones — allow time for iteration before deciding any fixture needs to be relocated.
Use Color Temperature Consistently Per Room
Mixing bulbs with very different Kelvin ratings in the same room creates visual disharmony. For living spaces, stay in the 2700K–3000K (warm white) range across all three layers. Kitchens and home offices can go slightly cooler at 3000K–3500K for better task visibility while still feeling residential.
Common mistakes — such as choosing mismatched color temperatures or skipping dimmers — are addressed in home décor myths that affect room design. If you're considering automating your setup, explore the range of smart lighting systems available for home use for scene-setting and scheduling options beyond manual dimmers.
Plan Wiring Before Installing Fixtures
Adding new ceiling fixtures or in-wall dimmers may require permits and licensed electrical work depending on your local code. Always consult a licensed electrician before modifying existing wiring. Do not attempt to install or rewire fixtures if you are unsure of your home's electrical capacity or local requirements.