

Key Takeaways
What Is Transplant Shock and Why It Matters
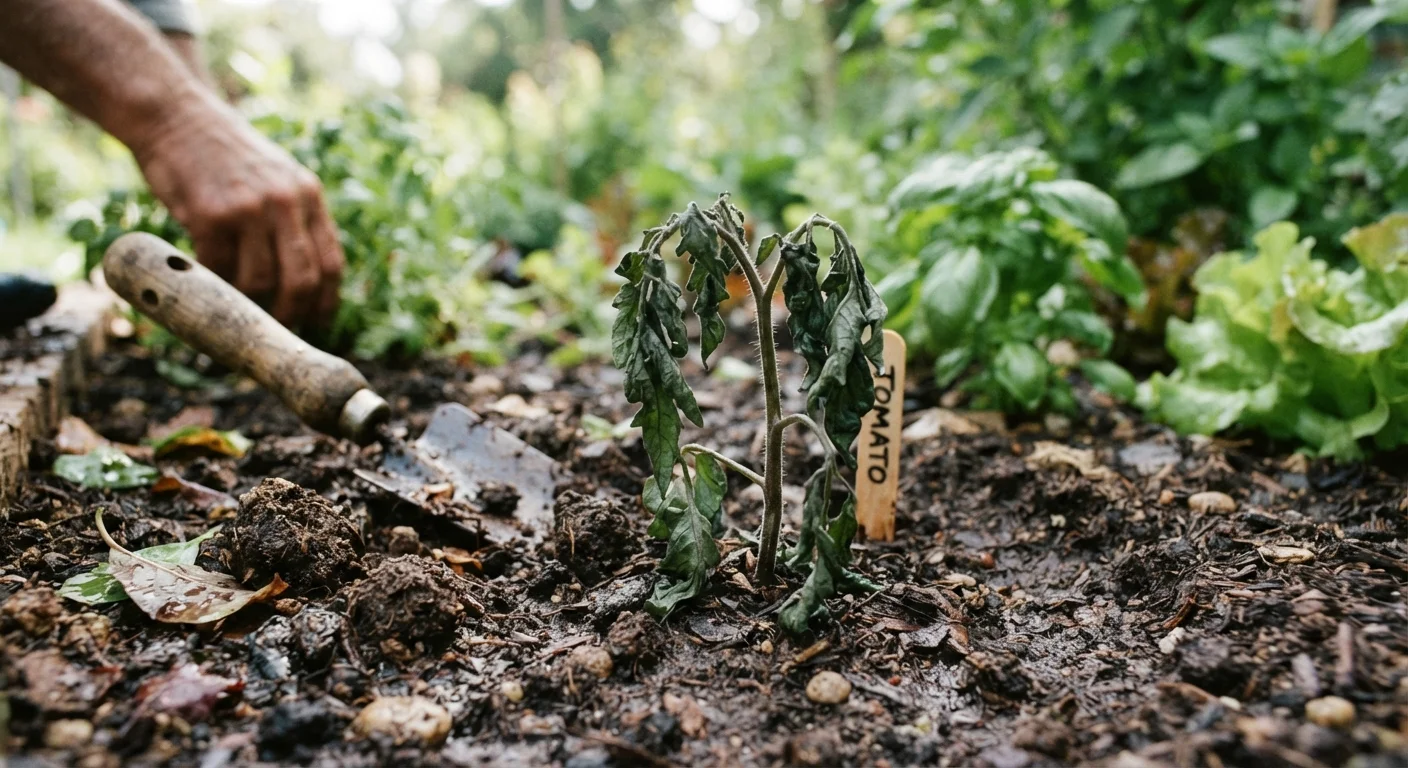
You've nursed seedlings from tiny seeds, watched them sprout under grow lights, and finally moved them into the garden — only to find them collapsed or dead days later. This frustrating cycle has a name: transplant shock. It occurs when a young plant's root system is disrupted, exposed to new environmental stresses, or denied adequate water and recovery time during the move from one growing environment to another.
Understanding what's going wrong is the first step toward fixing it. Whether you're growing vegetables, herbs, or annual flowers, the causes of seedling failure after transplant are consistent — and largely preventable. This guide breaks down the most common mistakes gardeners make, why they happen, and exactly how to avoid them. For a broader foundation, see our beginner's guide to vegetable gardening for context on preparing your entire growing season.
Common Mistakes That Kill Transplanted Seedlings
Most seedling deaths after transplant trace back to a handful of avoidable errors. Recognizing them in your own routine can make the difference between a thriving garden bed and a graveyard of wilted starts.
Skipping the hardening-off process before moving seedlings outdoors.
Why it happens: Indoor-grown seedlings are accustomed to stable temperatures, low wind, and artificial light. Gardeners, eager to get plants in the ground, often move them directly outside without a gradual transition.
Transplanting during the hottest, sunniest part of the day.
Why it happens: Many gardeners work in the garden when time allows, which is often midday or early afternoon. The heat stress this creates on freshly moved seedlings is underestimated.
Damaging or disturbing the root ball during transplanting.
Why it happens: Enthusiasm or impatience can lead to rough handling when removing seedlings from trays or pots, tearing fine feeder roots that are essential for water uptake.
Planting into soil that is too cold or too compacted.
Why it happens: Gardeners sometimes follow calendar dates rather than checking actual soil conditions, placing warm-season seedlings into ground that hasn't warmed sufficiently.
Inconsistent or inadequate watering in the days immediately following transplant.
Why it happens: After transplanting, gardeners sometimes assume the work is done and reduce attention. Seedlings with disturbed roots cannot draw moisture efficiently and need more consistent hydration than established plants.
Watering habits deserve special attention throughout this process. Misconceptions about when and how much to water are widespread — our article on garden watering myths can help you separate fact from damaging fiction.
Setting Your Transplants Up for Long-Term Success
Once you've avoided the common mistakes, a few extra practices will reinforce your seedlings' resilience. Water in transplants with plain water — not fertilizer — immediately after planting to settle soil around roots without chemical stress. If temperatures are expected to dip unexpectedly, use a frost cloth or row cover to protect tender plants overnight.
Pay attention to your planting site as well. Good drainage reduces root rot risk, and the right soil depth and composition influence how quickly roots establish. If you're weighing where to grow, our guide on raised beds vs. in-ground planting can help you choose the setup that best supports seedling success in your yard.
Don't Fertilize Immediately After Transplanting
Applying fertilizer — especially high-nitrogen formulas — right after transplanting can burn stressed, sensitive roots and worsen shock rather than help recovery. Wait until you see clear signs of new growth before introducing any fertilizer. Plain water and stable soil conditions are what newly transplanted seedlings need most in their first week.
With consistent attention to timing, root care, and environmental conditions, most gardeners can dramatically improve their transplant success rate. The goal isn't perfection — it's giving each seedling a fair, informed start.