

Key Takeaways
Why Home Composting Is Worth the Effort
Composting is one of the most practical things a home gardener can do. Rather than sending vegetable peels, coffee grounds, and dried leaves to the landfill, you convert them into a soil amendment that rivals many commercially bagged products. Finished compost improves soil structure in both clay-heavy and sandy soils, supports beneficial microbial communities, and provides a slow, steady release of nutrients to plant roots.
Beyond garden benefits, composting diverts organic material from the waste stream. The US Environmental Protection Agency estimates that food scraps and yard trimmings together account for a substantial portion of municipal solid waste — material that generates methane when buried in landfills. A backyard compost pile is a straightforward way to close that loop at home.
Compost also complements other garden practices well. If you already use mulch in your beds, incorporating finished compost beneath or alongside it adds biological activity that mulch alone does not provide. Our article on organic vs. inorganic mulch explores how these two soil care strategies work differently and can be used together.
Speed Up Decomposition Naturally
Chopping or shredding kitchen scraps and yard waste into smaller pieces significantly accelerates decomposition by increasing surface area. Adding a shovelful of finished compost or garden soil to a new pile introduces beneficial microorganisms that jump-start the breakdown process.
What You'll Need to Get Started
Home composting requires minimal investment. The essentials are a container or designated space, a mix of organic materials, and basic tools to manage the pile over time. Review the prerequisites and tools below before beginning.
What you will need
Compost bin or container
Contains the composting materials, retains heat, and keeps pests out.
Garden fork or compost aerator
Used to turn and aerate the pile, which speeds up decomposition.
Kitchen scrap collection bin
A countertop container for collecting vegetable peels, coffee grounds, and fruit scraps before adding them to the outdoor pile.
Garden hose or watering can
Used to moisten the pile when it dries out.
Compost thermometer
Measures internal pile temperature to confirm active decomposition is occurring.
Never Compost These Materials
Avoid adding meat, fish, bones, dairy products, oily foods, pet waste, or diseased plant material to your compost pile. These items can attract pests, create harmful pathogens, or produce odors that make the pile difficult to manage. Stick to plant-based kitchen scraps and untreated yard waste for a safe, productive pile.
Once your compost is consistently producing finished material, you'll find uses for it across nearly every part of your garden — from vegetable beds to container plantings. If you're growing in a limited space, our guide to container gardening on balconies and patios covers how to incorporate compost effectively in small-scale setups.
Step-by-Step: Building and Maintaining Your Compost Pile
Follow these steps to establish a compost pile that breaks down efficiently and produces usable compost within a few months. Active management — turning, monitoring moisture, and balancing materials — will determine how quickly you see results.
Choose and Set Up Your Compost Bin
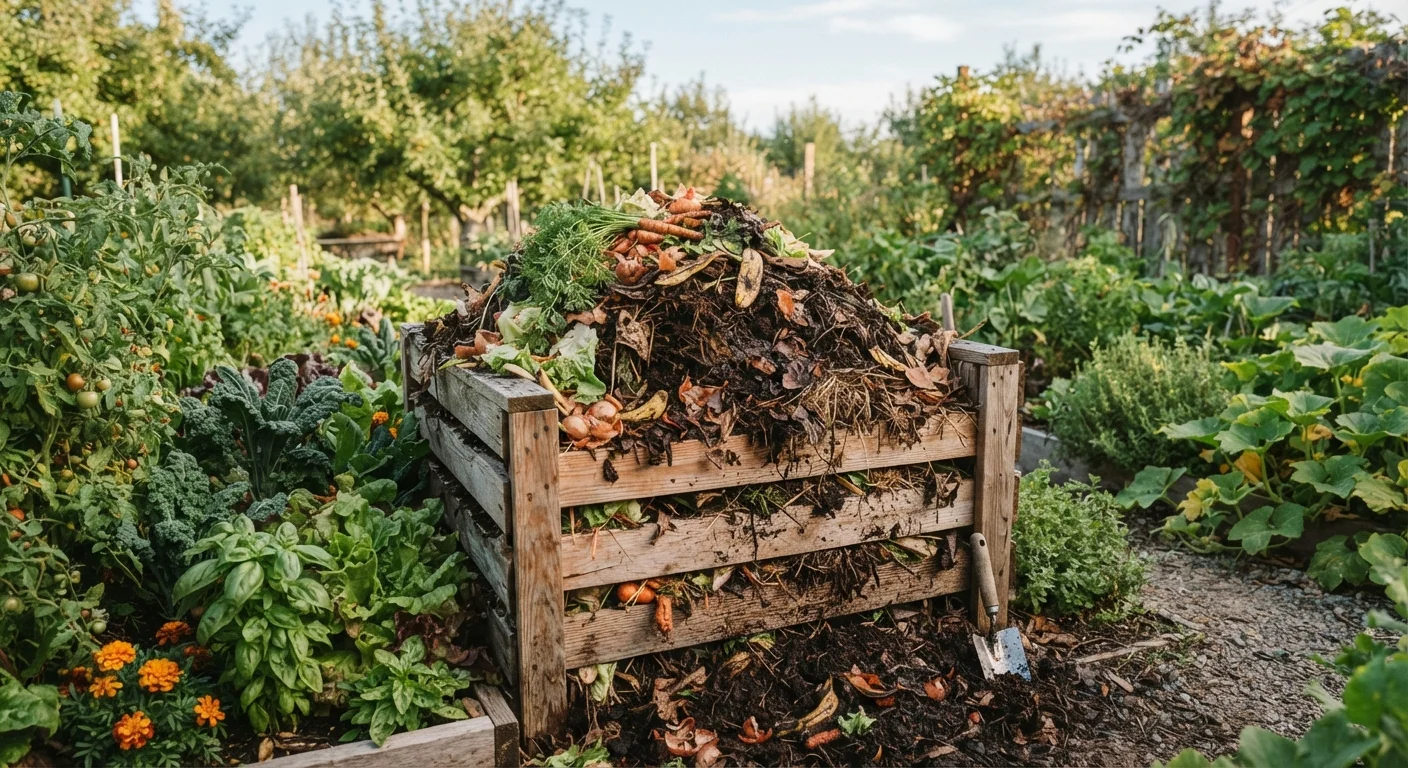
Select a location that receives partial sun and is convenient to both your kitchen and garden. A spot with some shade helps prevent the pile from drying out too quickly. You can use a purpose-built compost bin, a DIY enclosure made from wire mesh or wooden pallets, or even a simple open pile in an out-of-the-way corner. The bin should allow air circulation on the sides and be at least 3 feet wide and 3 feet tall to generate the internal heat needed for decomposition.
Gather Your Green and Brown Materials
Effective composting relies on a balance between nitrogen-rich 'green' materials and carbon-rich 'brown' materials. Greens include fruit and vegetable scraps, fresh grass clippings, coffee grounds, and tea bags. Browns include dried leaves, cardboard, newspaper, straw, and paper egg cartons. A general guideline is to aim for roughly two to three parts brown material for every one part green material by volume. This ratio supports aerobic microbial activity without creating excess moisture or odor.
Build Your First Layers
Start with a 3–4 inch layer of coarse brown material such as wood chips or dried leaves at the base. This improves drainage and airflow from the bottom. Add a layer of green kitchen scraps on top, then cover with another layer of browns. Repeat these alternating layers as you add new material over time. Burying fresh food scraps under browns reduces odor and discourages pests from investigating the pile.
Maintain Moisture and Aeration
Check your pile every one to two weeks. It should feel as moist as a wrung-out sponge throughout. If it feels dry, lightly water it with a garden hose. If it feels soggy or smells unpleasant, add more brown material and turn it to reintroduce airflow. Turning the pile with a garden fork every one to two weeks moves decomposing material from the outside edges toward the hotter center, where microbial activity is highest. Regular turning is the single most effective way to speed up composting.
Monitor for Progress and Troubleshoot
An actively decomposing pile will generate warmth in its center — a compost thermometer can confirm temperatures between 130°F and 160°F, which also kills weed seeds and most pathogens. If the pile is not warming up, it may need more greens, more moisture, or better aeration. A slimy, foul-smelling pile typically has too many greens or too much moisture; add browns and turn it thoroughly. A dry, stalled pile usually needs water and fresh green material to restart microbial activity.
Harvest and Use Finished Compost
Finished compost looks dark, crumbly, and smells earthy — similar to forest soil. It should no longer resemble the original materials. Stop adding new inputs to one section of your pile and allow it to cure for two to four weeks before use. Sift out any large chunks that haven't fully decomposed and toss them back into your active pile. Work finished compost into garden beds, use it as a top dressing around plants, or blend it into potting mixes. It pairs especially well with new garden projects — see our guide to starting a vegetable garden from scratch for ideas on integrating compost from the very beginning.
Watch Out for Overwatering Your Pile
A compost pile that is too wet will become compacted, anaerobic, and foul-smelling. If your pile smells like ammonia or rotten eggs, it likely needs more brown materials and turning to reintroduce oxygen. Aim for the moisture level of a wrung-out sponge — damp but not dripping.