

Key Takeaways
Why Reversible Decorating Matters for Renters
Renting comes with real constraints — most standard leases prohibit painting walls, drilling without permission, or making any modification that alters the property. Yet spending months or years in a space that feels cold and impersonal has a genuine effect on wellbeing. The good news is that a thoughtfully decorated rental can feel just as intentional and personal as an owned home. The key is building your approach around elements that are portable, adhesive, or freestanding, so everything you put in can leave with you in the same condition it arrived.
Understanding what you can do frees you from focusing on what you can't. Flooring, wall colour, and fixed lighting may be off the table — but furniture arrangement, textiles, lighting additions, art display, and plant styling are wide open. That's actually a substantial portion of what makes a space feel designed. Before diving into specific techniques, take a moment to review the tools and materials below, then read through all steps before starting any purchases.
Review Your Lease Before Starting
Before purchasing any decorating materials, read your lease carefully. Some agreements restrict even removable adhesive products or require written landlord approval before any changes. If in doubt, contact your landlord or property manager in writing and keep a record of their response. Proceeding without permission — even with reversible methods — may put your security deposit at risk.
Removable adhesive strips and hooks
Hang frames, mirrors, and lightweight shelves without nails or screws.
Peel-and-stick wallpaper or wall decals
Add colour and pattern to walls without paint or traditional wallpaper paste.
Area rugs
Define zones, add warmth, and cover worn or mismatched flooring.
Freestanding shelving unit
Provides storage and display space without wall fixings.
Tension curtain rods
Hang curtains or room dividers inside window frames without drilling.
Plug-in sconces or floor lamps
Add ambient or accent lighting beyond the fixed overhead fixture.
Step-by-Step: Making It Your Own
Follow these steps in sequence for the most efficient results. If you're working with a particularly small or awkward floor plan, our small-space room-by-room guide offers additional tactics tailored to compact layouts. And if you're planning a future redecoration once you have more flexibility, bookmark our room planning checklist for when that time comes.
What you will need
Document the Space Before Touching Anything
Walk through every room and photograph all existing marks, scuffs, nail holes, and floor imperfections in good lighting. Store these images somewhere date-stamped — a cloud folder or email to yourself works well. This record protects you when your tenancy ends and establishes a clear baseline for what was there when you arrived.
Define Your Colour Story Through Textiles
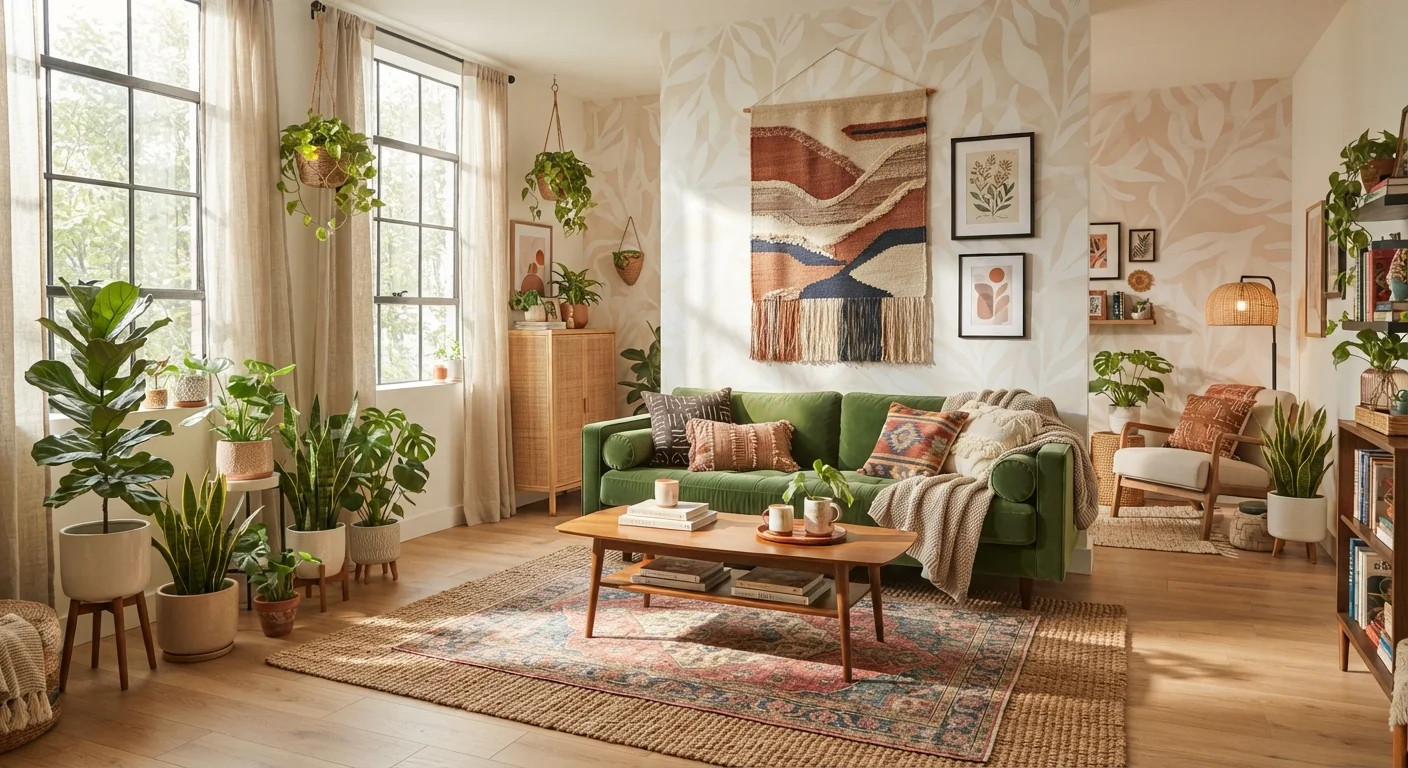
Since painting walls typically isn't an option, use textiles to introduce your colour palette. Throw pillows, blankets, curtains, and a well-chosen area rug can shift a room's entire mood. Choose a grounding neutral rug as your anchor, then layer in 2–3 accent colours through softer, smaller pieces. This approach is easy to swap out seasonally without any fuss. If you're starting a room from scratch, selecting your rug first is often the most efficient way to build a palette.
Use Removable Wallpaper or Wall Decals Strategically
Peel-and-stick wallpaper has improved dramatically in quality and variety. Rather than papering an entire room, consider one focused wall — behind a bed, above a console table, or inside a bookshelf back panel. This creates a statement effect with far less material and easier removal. Wall decals offer a lighter-touch alternative for adding a graphic element. Avoid high-humidity areas like directly over a stove or in a steamy bathroom unless the product is explicitly rated for those conditions. For more context on whether a single statement surface suits your space, see our piece on the advantages and drawbacks of feature walls.
Hang Art and Mirrors with Adhesive Hardware
Modern adhesive hanging strips can support surprisingly substantial frames when applied to a clean, smooth wall surface. Group smaller pieces into a curated gallery arrangement on the floor first before committing to placement — this lets you refine the composition without repeated attempts on the wall. Mirrors are particularly valuable in rentals: they add light, create depth, and can lean against a wall without any fixings at all. For guidance on arranging art well, our guide to decorating with art covers scale and grouping in detail.
Add Freestanding Storage and Display
Freestanding bookcases, ladder shelves, and open storage units deliver the visual interest of built-ins without touching the walls. Style shelves with a mix of books, plants, objects, and a few negative spaces — avoid filling every inch. In smaller rentals, tall freestanding units draw the eye upward and use vertical space efficiently. For more tailored advice on tight footprints, see our small-space decorating strategy guide.
Bring in Plants and Personalising Objects
Plants are among the most effective tools in a renter's decorating kit — they soften hard lines, add life and colour, and move out with you completely. Choose varieties suited to your actual light conditions rather than ones you wish you had. Beyond plants, curate a small collection of personally meaningful objects: ceramics, travel finds, inherited pieces. These add authenticity that no purchased accessory can replicate. Avoid the common mistake of buying generic decorative objects to fill space; fewer, more intentional items always read better. Common décor myths like needing everything to match can lead renters to over-purchase items they'll later regret.
Layer Lighting for Instant Ambience
Overhead rental lighting is often harsh and unflattering. Supplement it with plug-in floor lamps, table lamps, and battery-operated LED strip lights under shelving. Warm-toned bulbs (around 2700K) make any room feel more welcoming and can be taken with you when you move.
Test Adhesive Products on a Hidden Spot First
Removable adhesive strips and wallpaper are designed to come off cleanly, but wall texture, paint finish, and age all affect how they perform. Always test any adhesive product on a small, inconspicuous area and leave it for 24 hours before full application. Remove it slowly and at a low angle to reduce the chance of pulling off paint.