

Key Takeaways
Why the Same Crack Keeps Returning
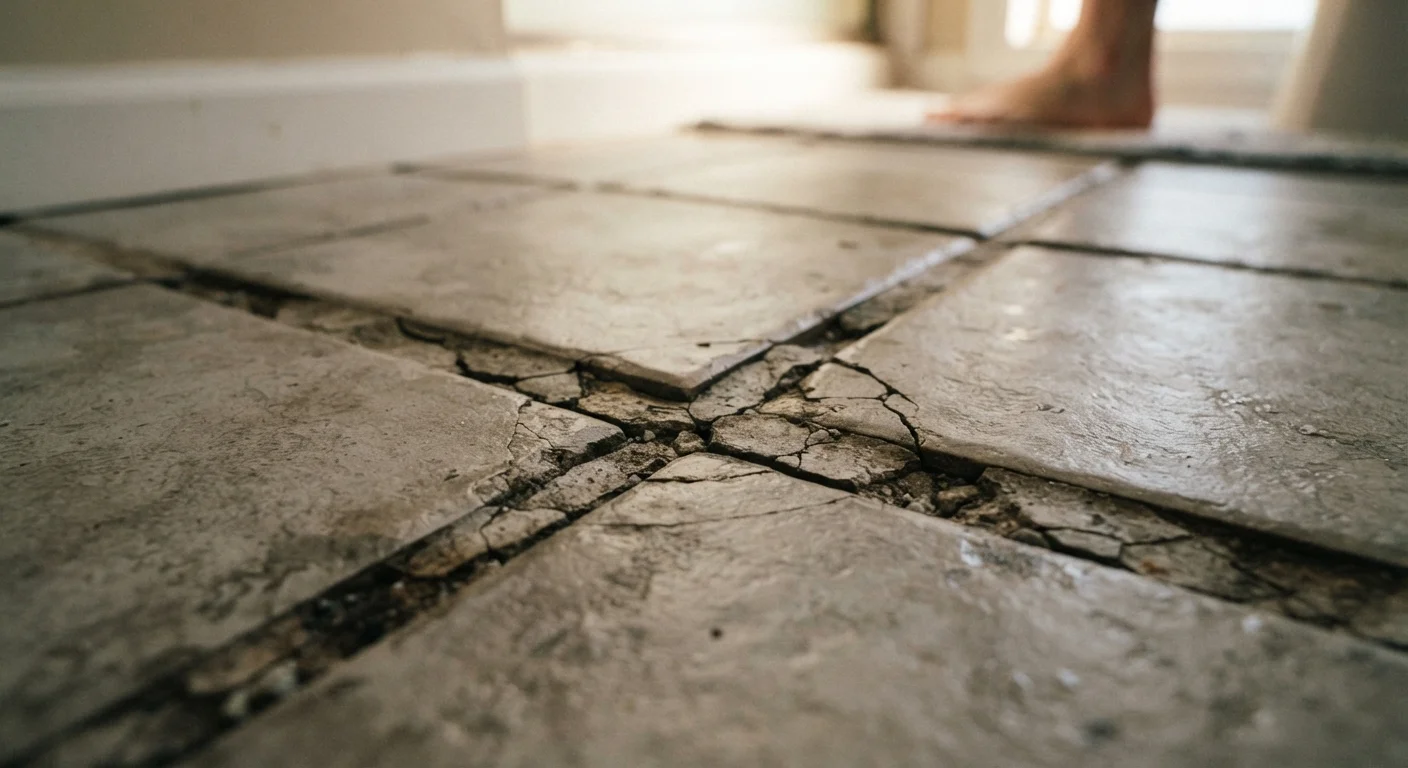
You patch the grout, it looks great for a few weeks, and then the crack is back — sometimes in the exact same spot. This frustrating cycle is almost always a sign that the repair addressed the symptom rather than the cause. Grout is a rigid material, and when the forces acting on it exceed what it can handle, it will fail again regardless of how carefully you applied the new mix.
Understanding what grout is actually doing — filling the gaps between tiles while bonding to a substrate — helps clarify why surface-only fixes rarely hold. The tile assembly beneath your feet or along your shower wall is a system. When any part of that system moves, expands, contracts, or weakens, grout bears the stress. Fix the system and the grout can do its job; ignore it and you'll be patching indefinitely.
Grouting over a flexing or insufficiently stiff subfloor.
Why it happens: Homeowners focus on the tile surface and assume the floor underneath is solid, not realizing that subfloor deflection — especially in older homes or around joists — transmits stress directly to grout joints.
Skipping expansion joints at corners and plane changes.
Why it happens: Many DIYers grout every joint uniformly, not realizing that corners where floors meet walls — and where different materials meet — require a flexible sealant, not rigid grout.
Mixing grout to the wrong consistency.
Why it happens: Bags of grout often have a wide water-ratio range, and it's tempting to add extra water to make the mix easier to spread. Over-watered grout shrinks significantly as it cures, creating hairline cracks from the start.
Re-grouting without fully removing damaged or loose existing grout.
Why it happens: Applying fresh grout on top of crumbling grout seems like a quicker fix, but the new layer has nothing solid to bond to and will detach within weeks.
Allowing grout to cure too quickly in hot or dry conditions.
Why it happens: High ambient temperatures and low humidity cause grout to dry out before it has properly cured, resulting in a weak, brittle surface prone to powdering and cracking.
Setting Yourself Up for a Lasting Repair
Before you open a new bag of grout, take a few diagnostic steps. Press gently on tiles around the cracked area — any give or hollow sound suggests the tile has de-bonded from the substrate, a problem grout cannot fix on its own. Check whether cracks follow a consistent pattern: cracks running along every grout line in one direction often indicate substrate flex or thermal movement.
Wet Areas Demand Extra Caution
Cracked grout in showers, tub surrounds, and around sinks is not just cosmetic. Water that penetrates cracked joints can saturate the substrate and framing within days. If tiles feel loose, the wall surface sounds hollow when tapped, or you detect moisture damage nearby, stop and evaluate whether a licensed tile contractor or general contractor is needed before proceeding.
In wet areas like showers and tub surrounds, cracked grout allows water to migrate behind tile, leading to mold, wood rot, and eventual tile failure. If you notice soft drywall, discoloration, or musty odors near a cracked grout area, consult a licensed contractor before attempting a DIY repair — water damage behind tile may require full removal and substrate replacement.
When the underlying cause is addressed, re-grouting is straightforward. Remove all loose and cracked grout to a depth of at least 1/8 inch using a grout saw or oscillating tool. Clean the joints thoroughly, allow them to dry completely, and mix fresh grout to the manufacturer's specified consistency. At change-of-plane corners — where the floor meets the wall, or where a countertop meets a backsplash — use flexible sealant instead of grout. For guidance on achieving similar long-lasting flexible seals in other areas of the home, see our article on caulking around windows and doors.