

Key Takeaways
Understanding Drywall and Why Patches Fail
Drywall — also called gypsum board or sheetrock — consists of a gypsum plaster core sandwiched between two layers of paper. It is relatively easy to repair, but patches fail for predictable reasons: skipping backing on medium holes, applying too-thick coats that crack as they dry, or painting directly over compound without primer. Understanding these failure points before you start puts a smooth, lasting result within reach for most homeowners.
The type of damage also matters. Impact damage, water-stained areas, and holes left by removed fixtures all present slightly different challenges. Water-damaged drywall that is soft, stained, or mold-affected should be cut out entirely and replaced rather than patched in place — compound will not bond reliably to saturated gypsum.
Check for Wiring and Pipes First
Before cutting into any wall, verify there are no electrical wires, plumbing pipes, or HVAC ducts behind the drywall. Use an inexpensive stud finder with AC wire detection, or consult a licensed professional if you are unsure. Cutting through live wiring or a water line is a serious hazard. When in doubt, do not proceed without professional guidance.
For projects that go beyond the walls, our guide on caulking around windows and doors covers another high-impact DIY repair that protects your home's energy efficiency.
Tools and Materials You'll Need
Gathering the right materials before you start saves multiple trips to the hardware store and keeps the job moving efficiently.
What you will need
Drywall knife (6-inch and 10-inch)
Used to apply and feather joint compound over the patch area.
Joint compound (all-purpose or lightweight)
The primary filler material used to coat, smooth, and finish the patch.
Drywall mesh tape or paper tape
Reinforces seams and edges on medium and large patches to prevent cracking.
Drywall saw or utility knife
Used to cut damaged drywall cleanly when replacing a large section.
Sanding sponge or 120-grit sandpaper
Smooths dried compound between coats and before priming.
Self-adhesive patch kit (aluminum or fiberglass)
A fast backing option for holes roughly 2 to 6 inches in diameter.
Primer
Seals the repaired area so paint applies evenly and the patch doesn't show through.
Stud finder
Locates wall studs and detects electrical wires before cutting into the wall.
Feather Wide for a Seamless Finish
Each successive coat of compound should extend two to three inches beyond the previous one. This gradual widening — called feathering — blends the patch into the surrounding wall and eliminates visible ridges. A 10- or 12-inch drywall knife makes feathering large areas much easier than a narrow 6-inch blade.
Step-by-Step Patching Instructions
Follow these steps in order, adjusting the specific technique for your hole size as noted within each step.
Assess the damage and choose your method
Inspect the hole or damaged area carefully before reaching for any tools. Repairs fall into three general categories:
- Small holes (under 1 inch): Nail holes, small dents, and popped screws. Fill directly with joint compound or lightweight spackle — no backing needed.
- Medium holes (1 to 6 inches): Door handle dents and accidental impacts. Use a self-adhesive metal or fiberglass patch as a backing, then apply compound over it.
- Large holes (over 6 inches): Significant damage requires cutting out the damaged drywall and installing a new piece secured to backing boards or wall studs.
Choosing the wrong method for the hole size is the most common reason repairs fail or look uneven after painting.
Prepare the damaged area
For small holes, use a putty knife to scrape away any loose paper facing or crumbling gypsum around the edges. For medium holes, peel back any torn paper and trim rough edges with a utility knife so the patch sits flush. For large holes, use a drywall saw to cut the damaged section into a clean rectangle, then locate the nearest studs on each side using a stud finder. Cut the rectangle to extend to the center of each flanking stud so your new piece has solid nailing surfaces.
Install backing or a new drywall panel
Medium holes: Press a self-adhesive fiberglass or aluminum patch firmly over the hole, centered so the mesh or solid plate covers all edges with at least a half-inch overlap on intact drywall.
Large holes: Cut a piece of new drywall to fit your opening. If studs are not available on all sides, screw horizontal wood backing boards (1×3 or 1×4 pine) behind the existing drywall on the top and bottom edges of the opening, then secure the new drywall panel to those boards and the studs using drywall screws every 6 to 8 inches. Drive screws just below the surface without breaking the paper facing.
Apply the first coat of joint compound
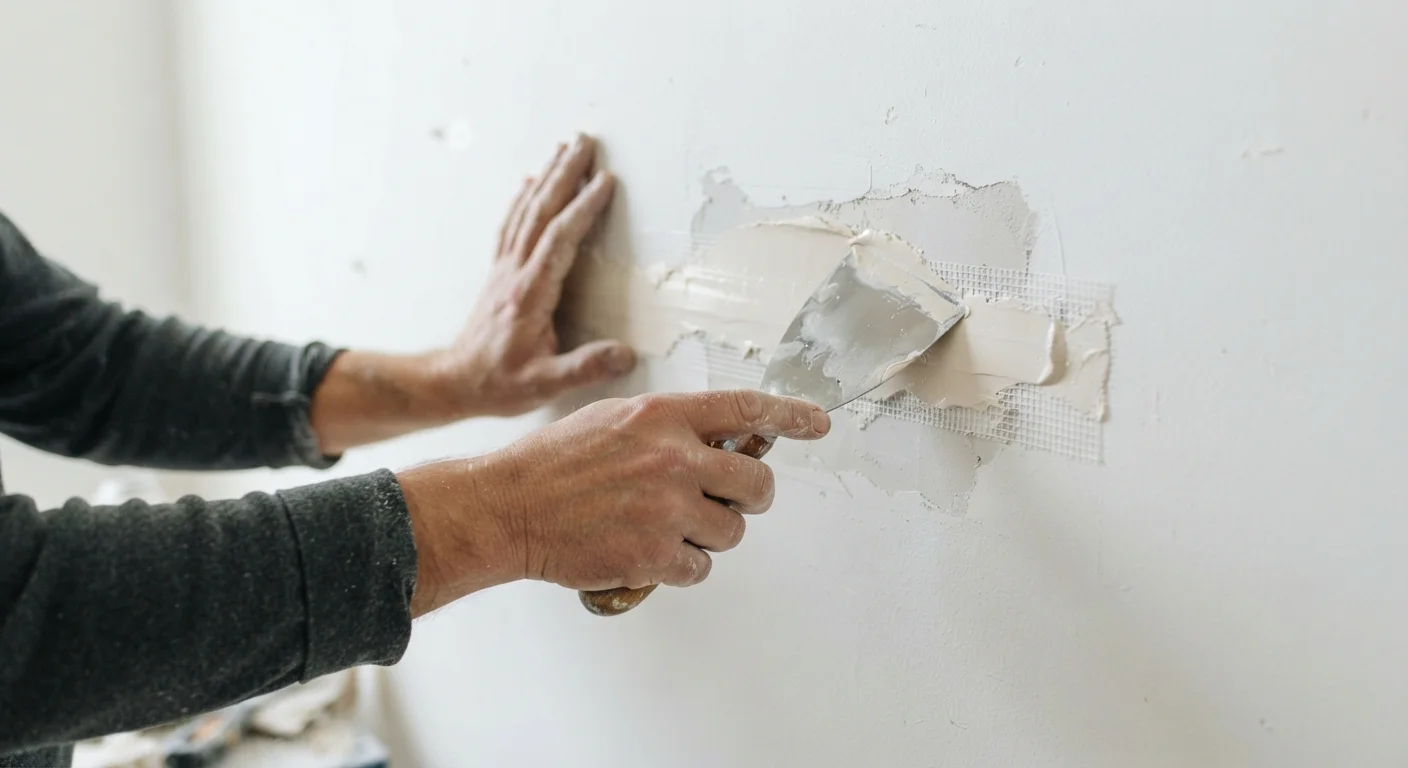
Scoop a moderate amount of joint compound onto your 6-inch knife. For small holes, press the compound firmly into the void and scrape it nearly flat. For medium and large repairs, embed paper tape or press mesh tape into wet compound along all seams before spreading a skim coat across the entire patched surface. The first coat does not need to be perfect — its job is to fill, not to finish. Remove excess compound with a clean stroke and let it dry completely.
Sand, then apply additional coats
Once the first coat is fully dry, lightly sand with 120-grit sandpaper or a sanding sponge until rough ridges are smooth. Wipe away dust with a damp cloth. Apply a second coat using the wider 10-inch knife, extending it several inches beyond the first coat on all sides. Feather the edges thin. Allow to dry, sand again lightly, then apply a third finishing coat if needed. The goal is a surface you cannot distinguish from the original wall by touch or sight.
Match texture, prime, and paint
If the surrounding wall has a texture — orange peel, knockdown, or skip trowel — replicate it before priming. Practice on a scrap piece of drywall first. For orange peel, thin compound slightly and apply with a texture spray can. For knockdown, apply compound with a sponge or trowel, let it begin to set, then lightly flatten the peaks with a clean knife.
Once the texture is dry, apply a coat of drywall primer over the entire patched area. Primer seals the porous compound and prevents the patch from showing as a dull spot through paint — a flaw called flashing. Finish with one or two coats of your wall paint.
Once your walls look their best, consider freshening up the room further with décor updates. Our small-space decorating guide covers practical strategies for making any room feel larger and more finished.
Don't Rush the Drying Process
Applying a second coat over wet compound is a common mistake that causes cracking and bubbling. Joint compound must appear uniformly white with no dark or translucent spots before you sand or recoat. In humid conditions or during colder months, drying can take 24 hours or longer per coat.